Getting Jacked is a dream of every man. But in our extremely busy and tiring routine, hitting the gym every day is not possible for most of us. So the problem is obvious, we want to build a healthy good looking body without hitting the gym every day. I personally like to workout from the comfort of my home. So is there a legit and effective workout plan that gives similar results just like gym but from the comfort of home. The short answer is that the exact replacement of the gym is complex.
But working out from home is possible with good results. There are many training plans that target different body muscles for better growth and health For instance CrossFit is a functional strength training program that mixes constantly varied, high‑intensity movements called “workouts of the day” (WODs), this is not a cheat code but complete training program to improve overall fitness by mimicking real‑life activities.
So in this article we tried to explain each and every step of our CrossFit workout plan. Our crossfit workout schedule has seven days of targeted training: strength, endurance, skill, and recovery all in a single easy to follow guide which obviously can be done from home. By following this systematic plan—rooted in a proven 28‑day CrossFit program—you’ll build muscle, burn fat, and enhance mobility. And overall feels and looks good.
The Ultimate CrossFit Workout Schedule PDF: Burn Fat & Build Muscle Like a Pro (Even if You’re a Beginner)
I bet like myself you are also tired of Googling different workouts and still getting nowhere? Want something clear, effective, and downloadable like a CrossFit workout schedule PDF?
Let’s be real: Most people quit fitness plans because they either see zero progress, get injured doing nonsense, or drown in confusing routines. This beginner-proof CrossFit workout program PDF is your cheat code. No guesswork, no burnout—just a strategic, day-by-day roadmap to torch fat, build head-turning strength, and train smarter, not harder.
CrossFit Foundation:
Monday – Total‑Body Activation
Like a new car we have to warm up and activate our body to work properly throughout the entire CrossFit workout plan. Otherwise we may injure ourselves, and will not get any proper results we are looking for, which we obviously do not want to face.
Goal:
The main goal is to learn the patterns of exercises and warm up our bodies to avoid any possible muscle pulls. We have to do four different workouts. Each one is equally important, because all of them focused on engaging many muscle groups at once.
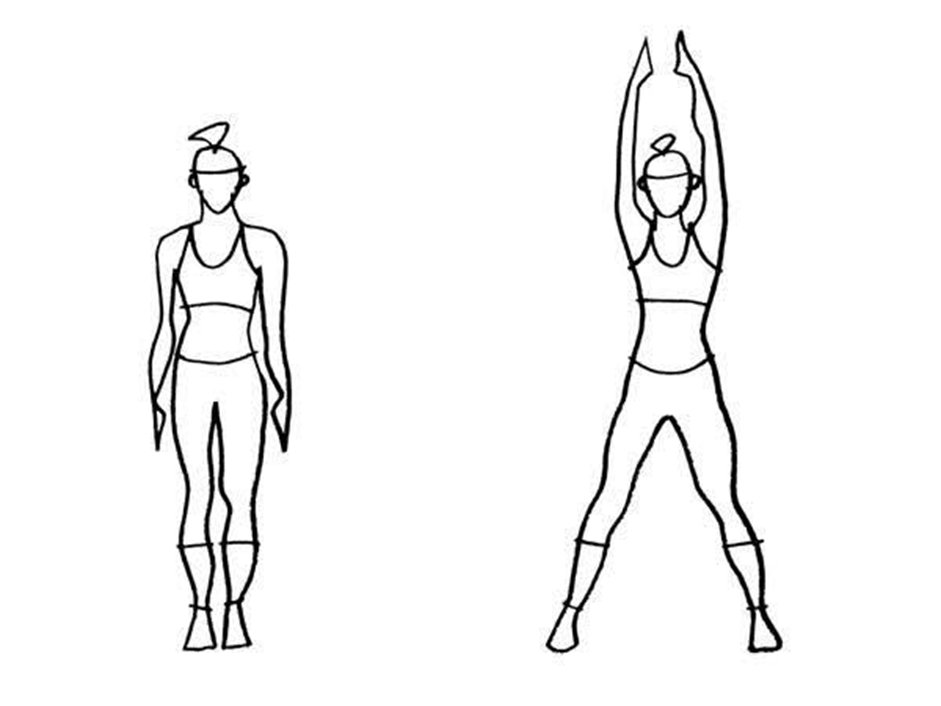
Jumping Jacks
1. Start:
You have to Stand straight with your feet together and arms relaxed at your sides just like shown in the left pic below.
2. Jump:
Hop slightly, spreading your legs out to the sides (wider than your shoulders) while raising both arms straight up over your head.
3. Return:
Hop again to bring your feet back together and lower your arms to your sides.
4. Repeat:
Keep doing this in a steady rhythm—like clapping your hands above your head and then at your sides with each jump.
Sets/Reps: 3×20
Tip:
Land softly with knees slightly bent to protect joints.
Mistakes:
Don’t lock your knees or slump your shoulders.
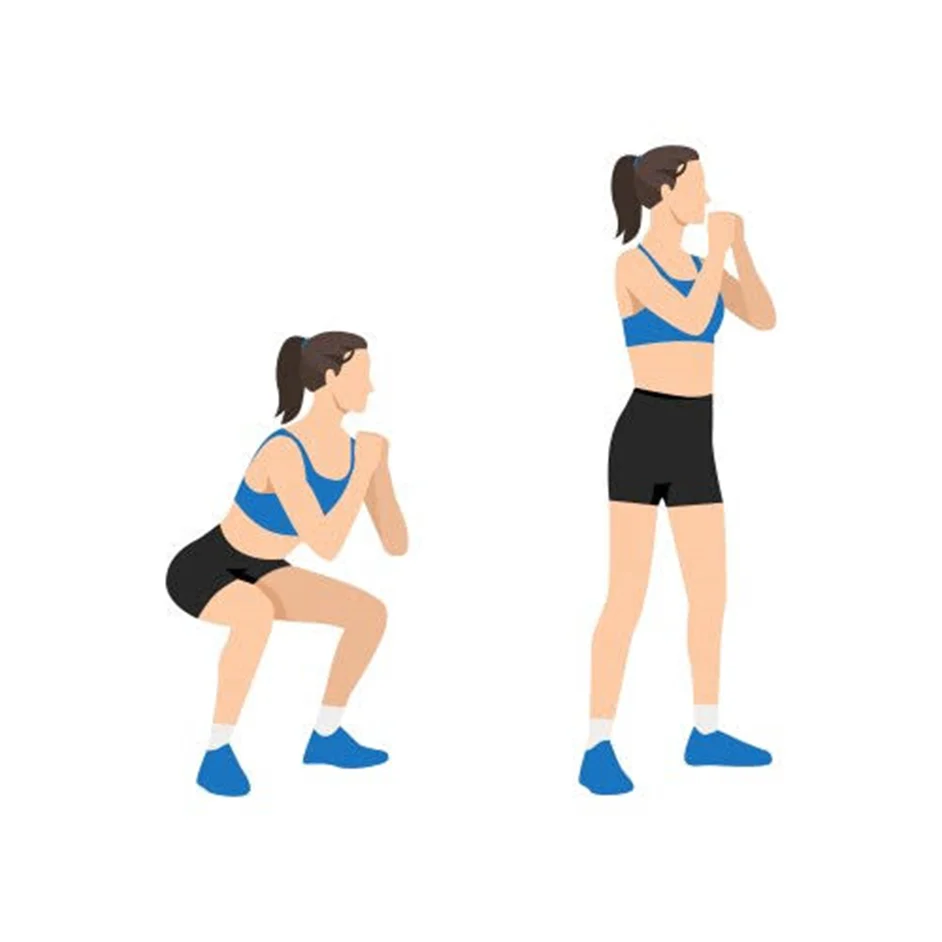
Bodyweight Squats:
1. Start:
Stand with feet shoulder-width apart. Keep your chest lifted and look straight ahead.
2. Sit back:
You have to Bend your knees and push your hips backward like you’re sitting into a chair made of air. Keep getting lower until your thighs are almost aligns to the floor.
3. Stand:
Push through your heels to straighten your legs and return to standing. Squeeze your glutes (butt muscles) at the top.
4. Repeat:
Do 15 reps, rest, then complete 3 total sets.
Tips:
- Keep your chest up (don’t hunch forward).
- Pretend you’re “digging” your heels into the ground to stay balanced.
Avoid:
- Don’t let your knees cave inward—keep them aligned over your toes.
- Don’t lean too far forward (your weight should stay in your heels, not your toes).
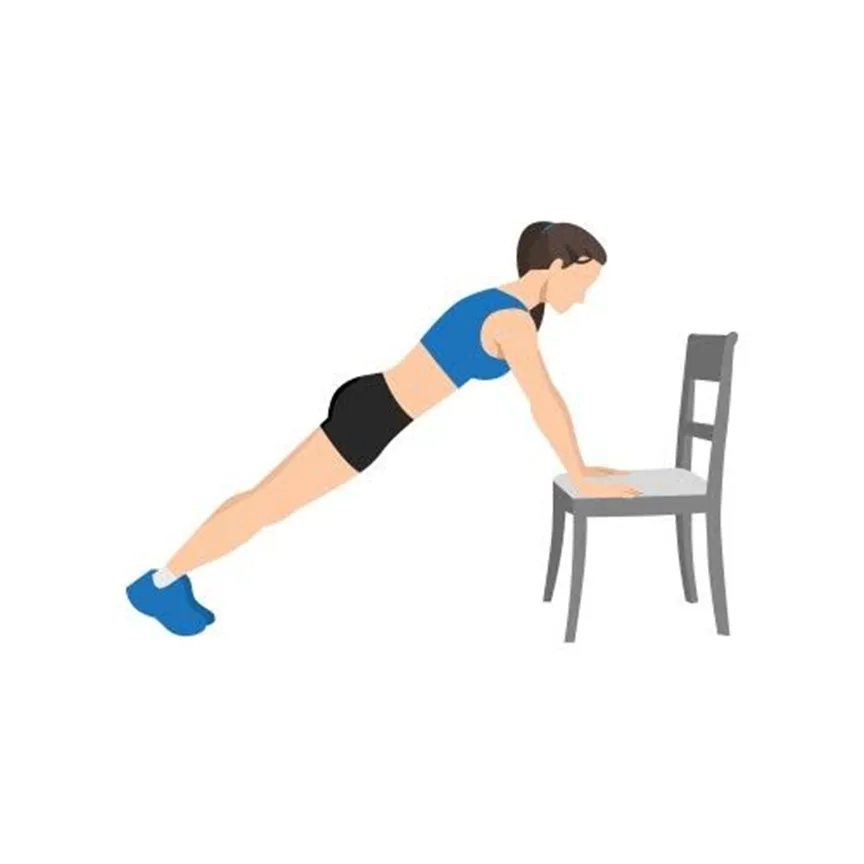
Incline Push‑Ups
1. Start:
Place your hands on a sturdy surface (like a bench, table, or step) slightly wider than shoulder-width. Walk your feet back until your body forms a straight line (like a plank).
2. Lower:
Bend your elbows to slowly lower your chest toward the edge of the surface. Keep your core tight and hips level—don’t let them sag!
3. Press Up:
Push through your palms to straighten your arms and return to the starting plank position. Squeeze your chest and shoulders as you rise.
4. Repeat:
Do 12 reps, rest, then complete 3 sets total.
Tips:
- Keep your body rigid like a wooden plank (no drooping hips or arched back!).
- Pretend you’re balancing a book on your back to stay straight.
Avoid:
- Don’t let your hips sink or stick up—your body should stay straight the whole time.
- Don’t rush—control the movement up and down.
Plank Hold:
1. Start Lie face-down:
Place your forearms flat on the ground, elbows directly under your shoulders. Tuck your toes and lift your body into a straight line (head to heels).
2. Hold:
You have to hold your body stiff like a wooden board with no sagging hips or arched back!
3. Rest:
Hold for 30 seconds, then gently lower to the floor. Rest briefly and repeat for 3 total sets.

Tips:
- Pretend you’re balancing a glass of water on your back to stay straight.
- Breathe steadily—don’t hold your breath!
Avoid:
- Don’t let your hips dip toward the floor or stick up too high.
- Don’t crane your neck—look at the floor just ahead of your hands.
Upper‑Body Focused exercises:
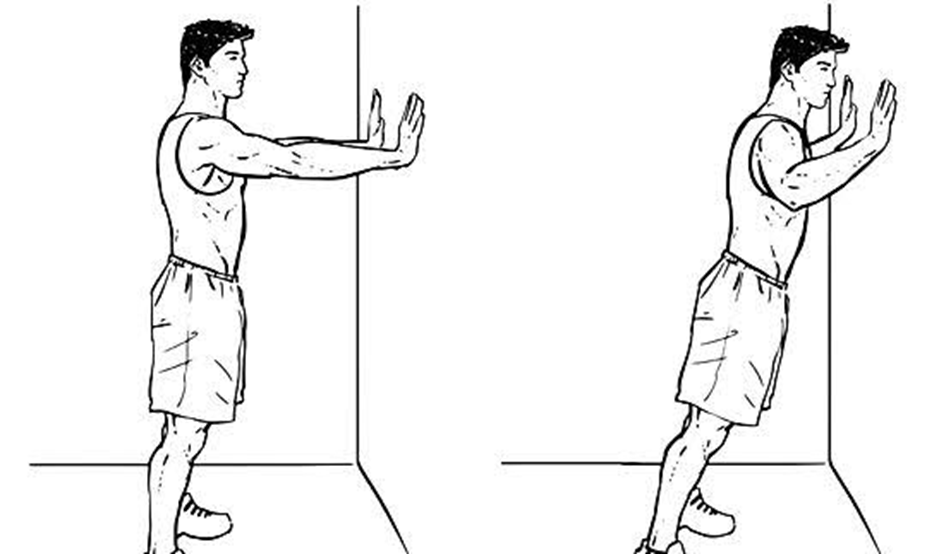
Wall push ups:
1. Start:
Stand about an arm’s length from a wall. Place your hands on the wall at chest height, slightly wider than your shoulders.
2. Lower:
Bend your elbows (keep them at a 45 angle to your body) to slowly lean your chest toward the wall. Squeeze your shoulder blades together as you lower.
3. Press:
Push through your palms to straighten your arms and return to the starting position. Feel your chest and shoulders working.
4. Repeat:
Do 15 reps, rest, then complete 3 sets total.
Tips:
- Start with your feet close to the wall for easier reps. Step back slightly to make it harder!
- Keep your core gently engaged to avoid sagging or arching.
Avoid:
- Don’t let your elbows flare out wide like “chicken wings”—keep them angled inward.
- Don’t do it in rush but instead control the movement to build strength and shoulder control.
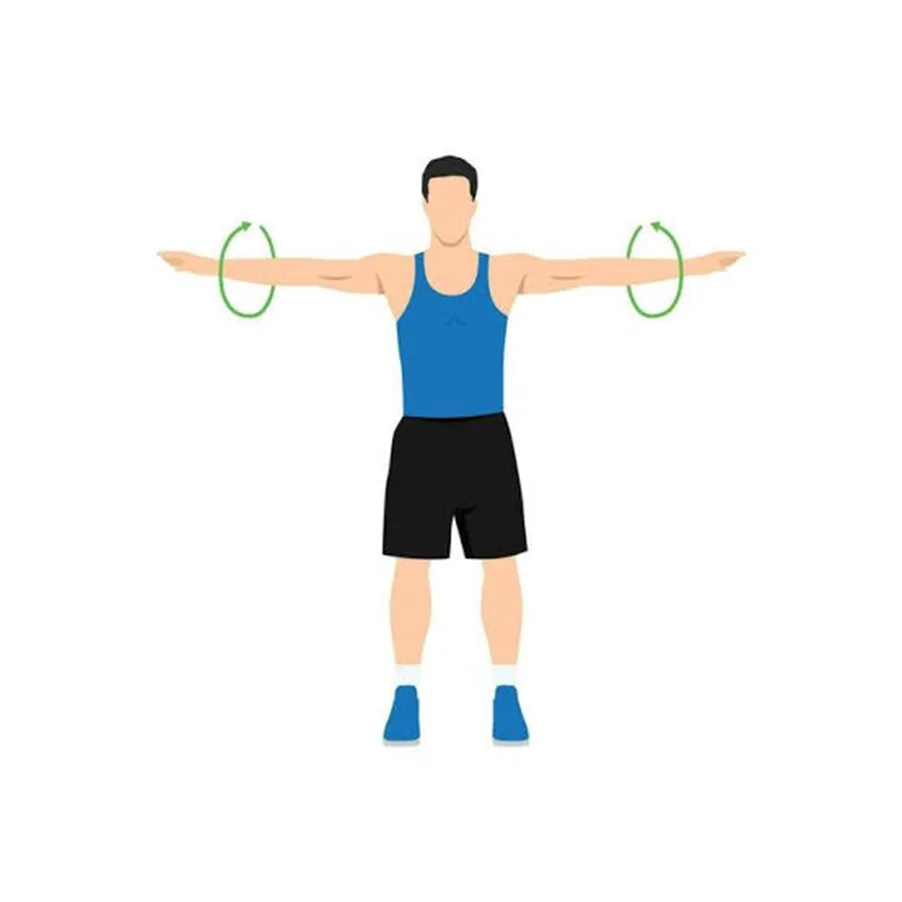
Arm Circles:
1. Start:
With standing tall with your arms extended straight out to your sides, parallel to the floor (like a “T” shape).
2. Circle:
Slowly rotate your arms in small forward circles (about the size of a dinner plate). Gradually make the circles bigger over time.
3. Switch:
After 30 seconds, reverse the direction and make backward circles for another 30 seconds.
4. Repeat:
Rest briefly, then complete 3 total sets (30 seconds forward + 30 seconds backward per set).
Tips:
- Keep your arms parallel to the floor the entire time for a solid shoulder warm-up.
- Move slowly and with control—no choppy flapping!
Avoid:
- Don’t let your arms sag or drop below shoulder height.
- Don’t arch your back—keep your core gently engaged.
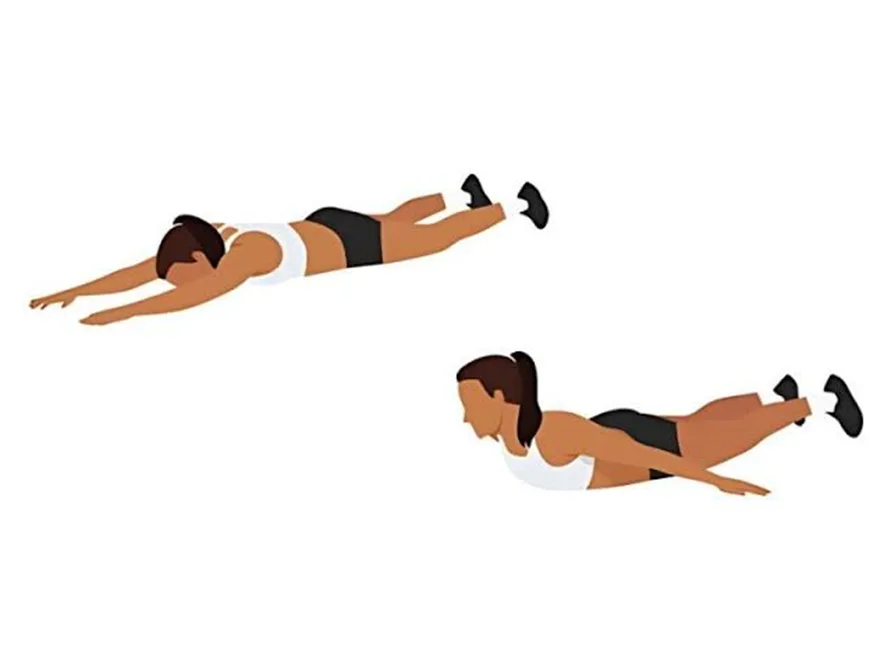
Reverse Snow Angels:
1. Start:
Start by lying flat on your belly with legs stretching straight and your arms should be resting by your hips with palms down.
2. Lift:
Now gradually raise only your chest and shoulders off the floor along with sweeping your arms out and overhead (like flying!). Keep your palms facing down.
3. Return:
After that now you have to Slowly lower your chest and bring your arms back to your hips.
4. Repeat:
Do 10 reps, rest, then complete 3 sets total.
Tips:
- Lift just high enough to feel your upper back and shoulders working—no need to strain your neck!
- You must Squeeze your shoulder blades together while you are sweeping your arms overhead.
Avoid:
- Please Do not let your arms drag on the ground—keep them floating slightly above the floor, otherwise it ruins everything.
- Keep breathing normally and Don’t hold your breath—breathe steadily as you move.
Lower‑Body Strength building exercises:
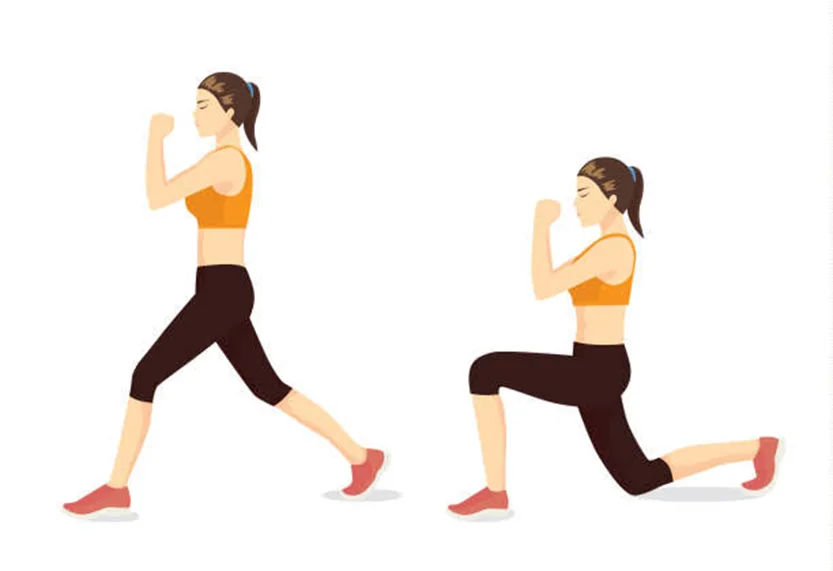
Forward Lunges:
How to do it:
1. Start:
Start with standing straight, keep your feet apart from each other at max gap at your hips.
2. Step:
Now Take a big step forward with only one leg. Keep your other leg at the place it was, and do not move it.
3. Lower:
Now you have to Bend both of your knees to around 90 degree angle (front knee over ankle, back knee hovering above the floor).
4. Push:
After that use your front heel to return to the original position, from which you start.
5. Repeat:
Keep it up and Do 10 reps per leg, take a little rest, then complete 3 sets in total.
Tips:
- You must Keep your chest up and front knee behind your toes.
- Think like “sitting into a step” to stay balanced.
Avoid:
- Please Do not let your back knee touch the ground.
- And Don’t let your front knee fall inward. Keep yourself in balance.
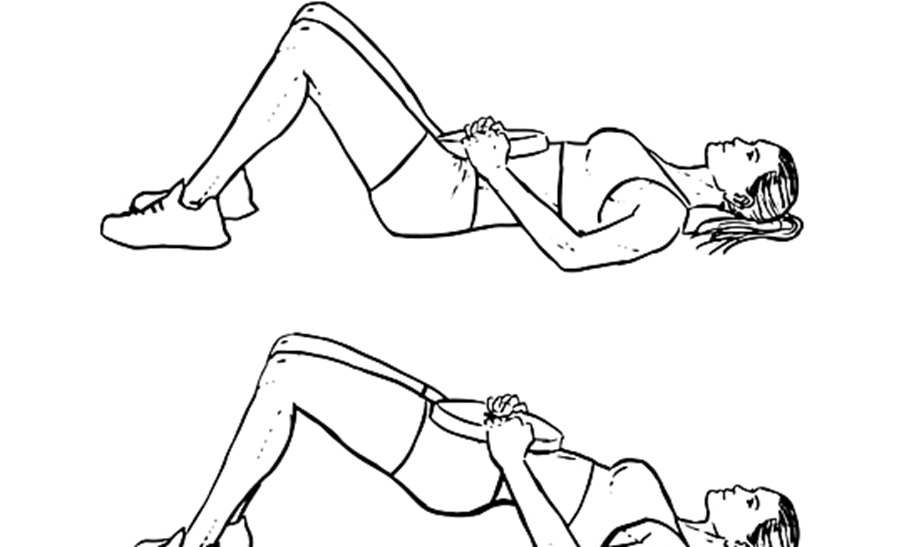
Glute Bridges:
How to do it:
1. Start:
For this exercise You have to start with lying on your back, while keeping your knees bent, and feet flat on the floor.
2. Lift:
Now push through your heels to raise your hips until your body forms a straight line (shoulders to knees).
3. Squeeze:
Now Tighten your butt at the top and hold for 1 second.
4. Lower:
Keep it Slowly and return to the starting position.
5. Repeat:
Do 15 reps, take some rest, then complete 3 sets total.
Tips:
- Pretend you’re holding a coin between your but at the top! Don’t judge me. It’s just a tip.
- Keep your core locked and avoid arching your lower back.
Avoid:
- Don’t lift your hips too high.
- Don’t rush and control the up and down movements.
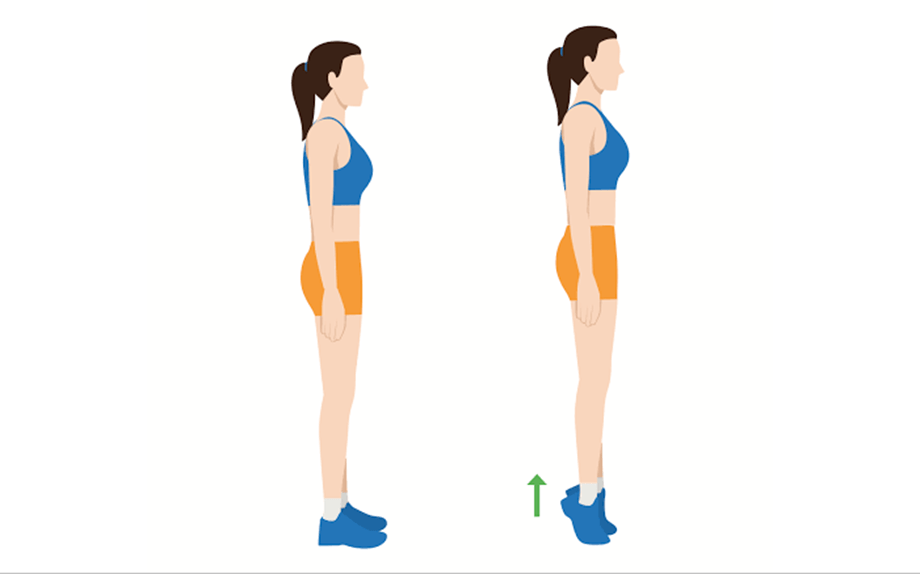
Calf Raises:
How to do it:
1. Start:
To do This Stand straight (use a wall or chair for balance if needed).
2. Raise:
Now Lift your heels as high as you can, pushing onto your tiptoes.
3.Lower:
Now Slowly lower your heels back to the floor. Keep it slowly, it’s the main part. Otherwise you will ruin it.
4. Repeat:
Do 20 reps, take some rest, then complete 3 sets total.
Tips:
- For a deeper stretch, do these on the edge of a step (let heels drop below toes).
- Imagine pushing up to “peek over a fence” at the top. Like you do in your college.
Avoid:
- Don’t bounce and jump, but instead move slowly and with control.
- Don’t let your ankles roll inward or outward.
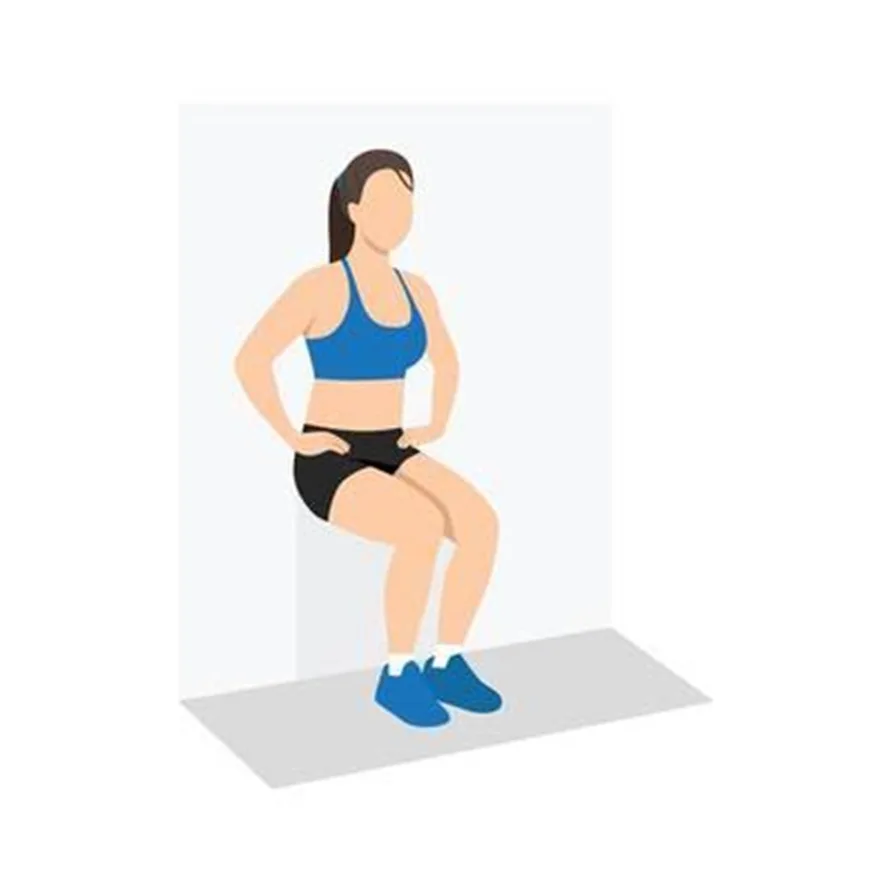
Wall Sit:
How to do it:
1. Start:
To do this you have to Lean your back against a wall, with feet slightly forward.
2. Slide Down:
Keep Slowly lower until your knees are bent ≈90° (like sitting in a chair).
3. Hold:
At this moment Keep your back flat against the wall and weight in your heels.
4. Rest:
Hold for 30 seconds, then stand. Repeat for 3 sets total. And don’t forget to rest for 30 something seconds.
Tips:
- Pretend you’re “holding a ball” between your knees to keep them aligned.
- Breathe steadily, if it burns, you’ve got this!
Avoid:
- Don’t let your knees go past your toes.
- Don’t let your back peel off the wall.